Monday, January 27, 2014

Valentine's Day Wreath Give Away

I know what you're thinking: another ribbon wreath?! Well in this case, it's three more ribbon wreaths.  I wasn't kidding when I said I had A LOT of ribbon in the Crafting Oasis and that I would rather use it up than have it sit in a bucket.  

When I first started sorting through ribbon for the Back to school wreath, I earmarked different sets of ribbons for different projects.  This set of blue, white, and brown was perfect for a wintery wreath. 

 All I bought were these three spools so I had a few thicker ribbons to help balance out the thinner ones. Plus, I needed a dark blue as an "anchor"  


Here's the result, hanging on our kitchen door. 


When it comes to Valentine's Day ribbon, I had even more stashed away (all right, I admit, I may have purchased one or two more earlier this month - just to round things out!)

I had enough to make one wreath for me... 

and one for one of you! 

That's right! Since I have two wreaths, I will be giving one away to one my blog readers.  To be eligible, all you have to do is comment on this post, or if you don't have a Google account that will let you, you can also comment on the pin of the Valentine's Day wreath on Pinterest on my "Things from My Blog" board. All comments made by 11 PM on Wednesday January 29th, 2014 will be eligible (I'll have one of my kids pull the name from a hat - literally).  I'll announce the winner on Wednesday night, and then we'll figure out a way to get it to you.

I can't wait to see who the lucky winner will be!


Monday, January 20, 2014

A Scarf for Vince

For the past few weeks I have been dealing with a bad back.  At first, I blamed the dog, because it only hurt at night when I was sleeping, but would be fine once I got up and started moving around.  But a few weeks ago, it was bothering me all the time.  Then the pain went down my right leg and at one point, my calf was hard as a rock.  After ruling out a blood clot, I went to at PT who has me working on exercises to help alleviate the culprit, a pinched nerve.  His first tip helped me with driving, so that I didn't feel like crying.

Needless to say, having a pinched nerve has really cramped my crafting style.  Quilting is too much like driving to be comfortable, so that's out for now.  I am so far behind in scrapbooking it's not funny, but that will have to wait for a bit too.  So in looking at my UFO's I focused on some knitting that was in my bag.

I learned how to knit a few years ago.  The only thing I can make are scarves, so I have quite a few. I like trying different stitches so at least they don't all look  the same.

My stepson, Vince loves the color red, so when I had a skein of red yarn leftover from a different scarf, I knew it was for him. It's a nice thick yarn.  I used 13 needles and knitted it with the rib stitch, (knit two, purl two) which I like because it looks like the garter stitch, but doesn't roll up on the edges.

Here's the finished project: I know it's not at all fancy, but it's going to keep one little boy very warm in our Western NY winters! And it's a UFO that's finished :)

What projects are you working on to stay warm?

Thursday, January 9, 2014

Cardinal Stitching

Many of my projects during the fall and holiday season used up supplies that I had stockpiled in the Crafting Oasis, which is great.  Yet one of the reasons I started the 40 by 41 challenge was to finish up those UFOs (UnFinished Objects).  Today, I can cross a UFO off the list!

I have always loved the Cross Stitch and Needlework magazine.  Two years ago, the Christmas issue had many wonderful projects, but I liked the one on the cover, a cardinal sitting on a branch of holly.  My mom liked cardinals, and I had originally planned on giving the stitching to her.  She had some little cardinal knick-knacks that she put out in the winter months after Christmas. I think there is something appealing about the bright red when everything outside is so white, and I think she did too.  I thought is would be a nice addition to the grouping.

Mom passed away shortly after I started the stitching though.  I asked my Dad if I could have those few cardinal knick-knacks, and I have since added a few more.

After two years of picking up the piece, putting it down, starting a new project or two,  and then picking it back up again, I finally put the finishing stitches in it just this week.

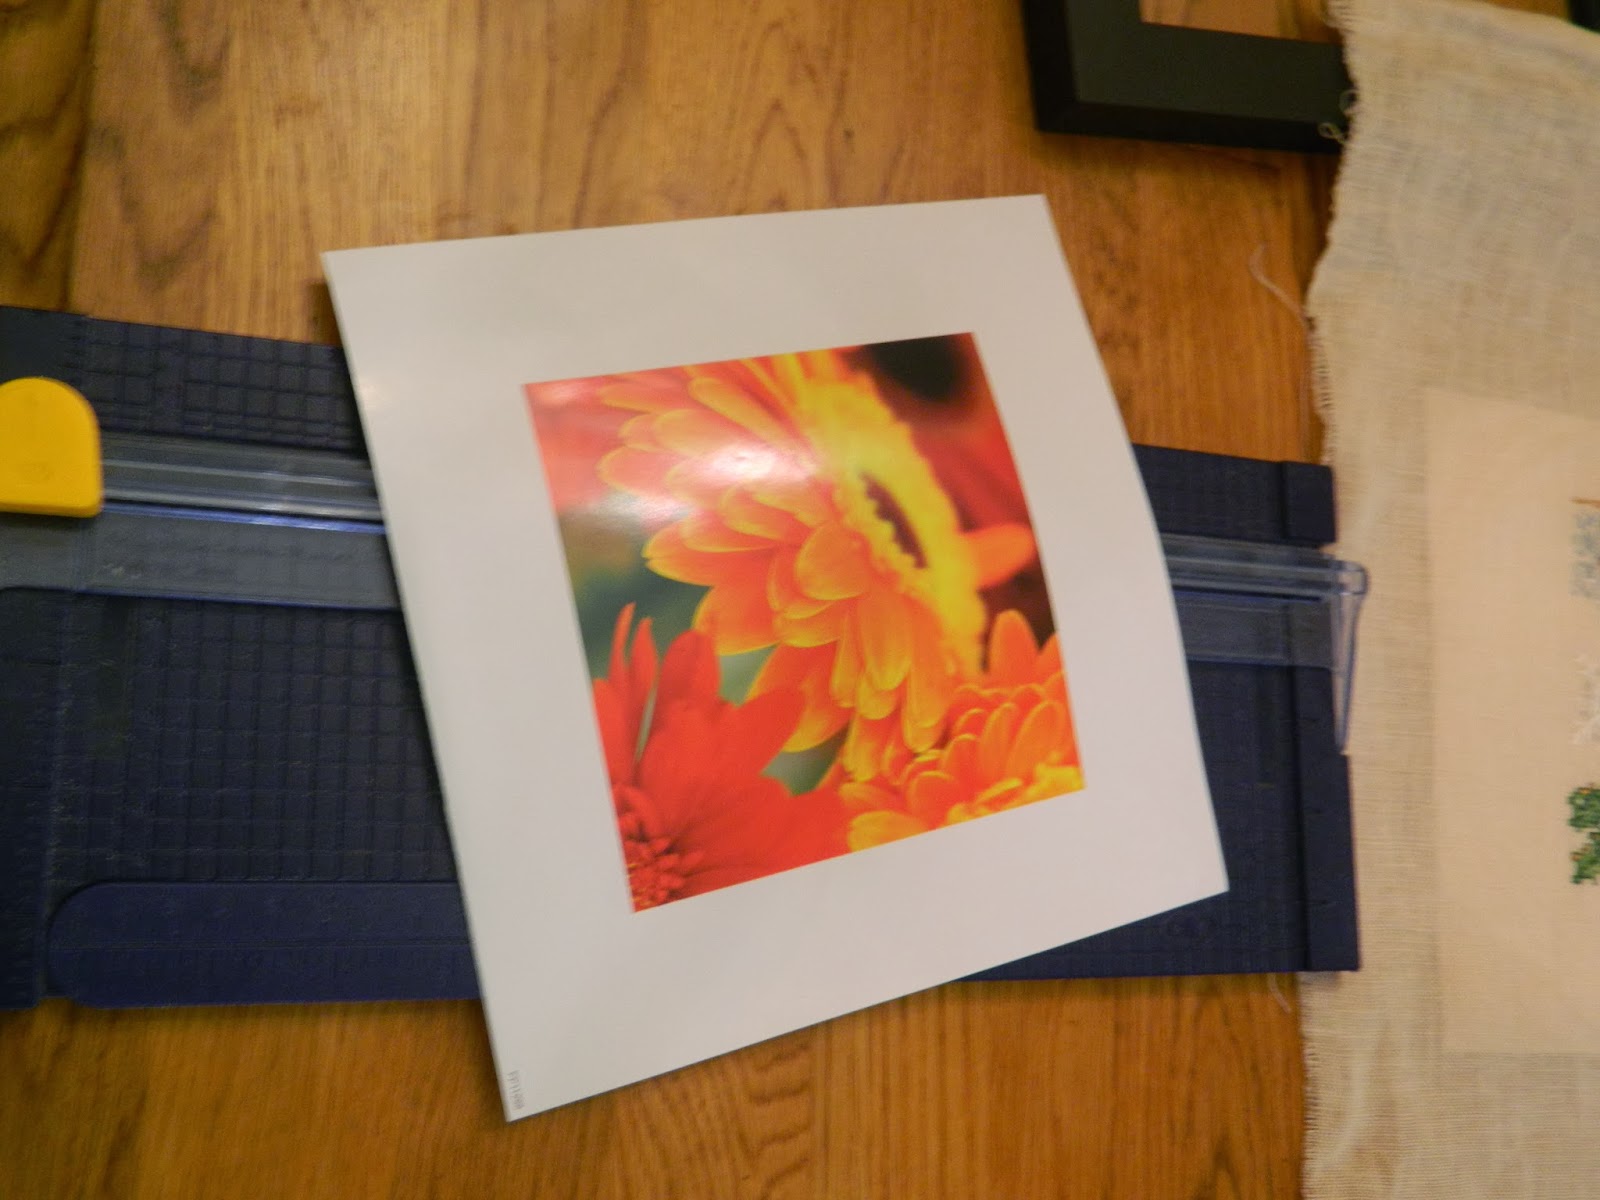
I had found a square black frame at the after-Christmas sales, and decided that I would make a mat with red paper from my vast scrapbooking paper collection.


I used the "picture" that came with the frame as the template to cut the square from my new mat. Using the red mat as a guide, I stretched the stitching over a piece of cardboard (from scrapbooking packaging, so I think it should be safe to use) It took a few tries, and little bit more trimming to get the cardinal centered and stretched within the opening.

Then I layered the whole thing inside the frame and viola!


Now it sits with the other cardinals.  I have the beginnings of a flock!


Thursday, January 2, 2014

Peppermintys

I hope that you have had a very Merry Christmas and a Happy start to the New Year!

We had a wonderful holiday season, and clearly a very busy one since I have been neglectful of my blog.  Poor blog.  :(

But now that I have time to breathe deeply, and even sit down, I am back to work on my 40 by 41 projects.  You'll see a completed project later this week.

First, though, I meant to share with you one of my favorite recipes that I invented when I found myself in need of a quick cookie. 

Here's the story: Several years ago, I was baking for a Cookie Walk at church.  We were told that we had to bring in four dozen cookies. I ran out of a key ingredient at ten at night and when you are a single mother and you run out of an ingredient at ten at night you are OUT.  Rather than be short on the amount of cookies, I looked around to see what else I had.  I found a roll of sugar cookie dough and a box of candy canes.

Put the two together and you get Peppermintys!


First thing is to smash the candy canes.  For a regular sized roll, I use about eight candy canes.  I put them in a plastic baggie and use a meat tenderizer to smash them (a great stress reliever if the holiday hype is getting to you).  You want to have some small chunks, not just smithereens (like I might if making Peppermint Bark). Put the smashed canes in a bowl.


I always use Pillsbury sugar cookie dough.  Set the oven to 350 as directed.  Slice the cookie dough and then roll into a ball.


 Roll in the smashed canes.

Place on parchment paper on cookie sheets.   I use parchment when baking.  I find it makes clean up a lot easier, and I can slide one sheet off the pan onto the counter to cool, and slide a prepared parchment right back on the pan, so it keeps things moving quickly


Bake for about 10 minutes.

The cookies are done when they are slightly browned around the edges.  They come out puffy but the candy canes melt in the oven and then harden into a thin, crispy cookie.


So the next time you find yourself in a pinch for Christmas cookies, make some Peppermintys.  They're quick, easy, and oooooohhh so good!

Sunday, December 15, 2013

Christmas Fixer-Upper

I have been cross stitching for nearly 30 years and if you looked at my full body of work, you would see that there are a lot of Christmas stitchings. Ornaments (lots of ornaments), tea towels, sweatshirts, scrapbook covers, and large wall hangings.

I made this one about thirteen years ago, according to the date I signed on it.  For some reason, I didn't get around to framing it until a few years ago.  By that time, I was a single mom, and I didn't really want "Celebrating Christmas Since ..." on it anymore, but I liked the stitching and didn't want such a cute piece to go to waste.  So, I picked out the words "Since 1997" and just continued the black squares across the bottom.  I found a nice red mat and a black frame and hung it for a few years.


When I got remarried though, I obviously didn't want to leave my old name on it. How lucky, that my old name and the new name have the same last few letters, so I could pick out the "FUST" and change it to "TROW".  I had to fudge the spacing a bit, as there two spaces in between each of the letters that only took up 3 spaces each. There was no way to make a W without is using 5 spaces, but because it's in the center, it works pretty well.


I also picked out the black squares at the bottom and
added "Since 2012". 

Now my Christmas house stitching reflects the family properly and I get to enjoy setting it out again.

Onto the next Christmas stitching!


Monday, December 9, 2013

Chalkboard Ornaments

When we blended families and the boys and I moved into Phil's house, I was forced to see how much crafting stuff I had accumulated.   Very often, I bought supplies that either never got finished (or let's face it, even got started) or I kept what was left over from ancient projects.  As I work on my
"40 by 41 Challenge", I search for new projects on Pinterest that will use up the supplies I already have.  It's feels great to empty out a container or shoebox full of "stuff" that might never have seen the light of day again otherwise.

When I saw the chalkboard ornaments from The Examined Life, knowing that I had a slew of little wooden shapes in the Oasis, I nearly ran to the store to load up on chalkboard paint.  I also grabbed a white paint pen.

When I dug the wooden shapes out of the drawer they had been stored in, I had to get the stickers off the backs.  Some were a little challenging, as they have been sitting there for awhile. Once all the stickers were off, I painted two coats on the good side (without the sticker residue), with a little help from my stepdaughter.  I only painted one coat on the back side.


Next, I used the white paint pen to outline the shapes - sometimes with dashes, some with dots, some with both.  Then I raided the stash for something sparkly. In the scrapbooking stuff I found a "ribbon" of holly shaped rhinestone and a holly shaped photo corner.  I used these to embellish the ornament (usually covering a spot that didn't come out as cleanly as I would have liked).


Add a little ribbon loop to the back, and we're all set!


As I mentioned in the post describing the Cinnamon Stick Stars, I wanted to give some of my good friends their Christmas treats at the beginning of the season so they could enjoy it all month long, rather than just for a few days before Christmas.  I packaged up a Cinnamon Stick Star, a Chalkboard Ornament, and a bag of Simmering Potpourri (check it out below) and delivered them  all one afternoon.  I hope my friends are enjoying their treats. 
 
What treats are you making for your friends this Christmas?
 
Simmering Potpourri
 
I found the recipe for the potpourri at Make It Do.  It includes an orange (quartered), a Tbsp. of cloves, 4 or 5 cinnamon sticks , and half a cup of cranberries.  Throw it a pot (or crock pot), add some water and enjoy.  I put all the ingredients in a treat bag, tied it off with some ribbon and wrote the instructions on a tag I made from card stock and the Creative Memories tag punch (a NECESSITY of crafting life).  Quick, easy, and so, so nice!

Tuesday, November 26, 2013

Cinnamon Stick Stars

At Christmas time, one of my greatest joys is letting my friends and loved ones know how important they are to me with a little "something".  Very often, it's lots of Christmas goodies.  My Pinterest addiction has inspired me to give them all a little seasonal gift at the beginning of Christmastide this year so that they can get in the spirit and enjoy it all month long.


The first item in the package will be a cinnamon stick star.  I pinned the idea from Rosy-Posy's blog last year, loving the idea of using up the cinnamon sticks I had left over from a previous project.  The original project crafter collected some of her supplies from the great outdoors with her children.  How cool!  I had to resort to my local craft stores, where I found cute sparkly berries, and a small wreath for the greens.


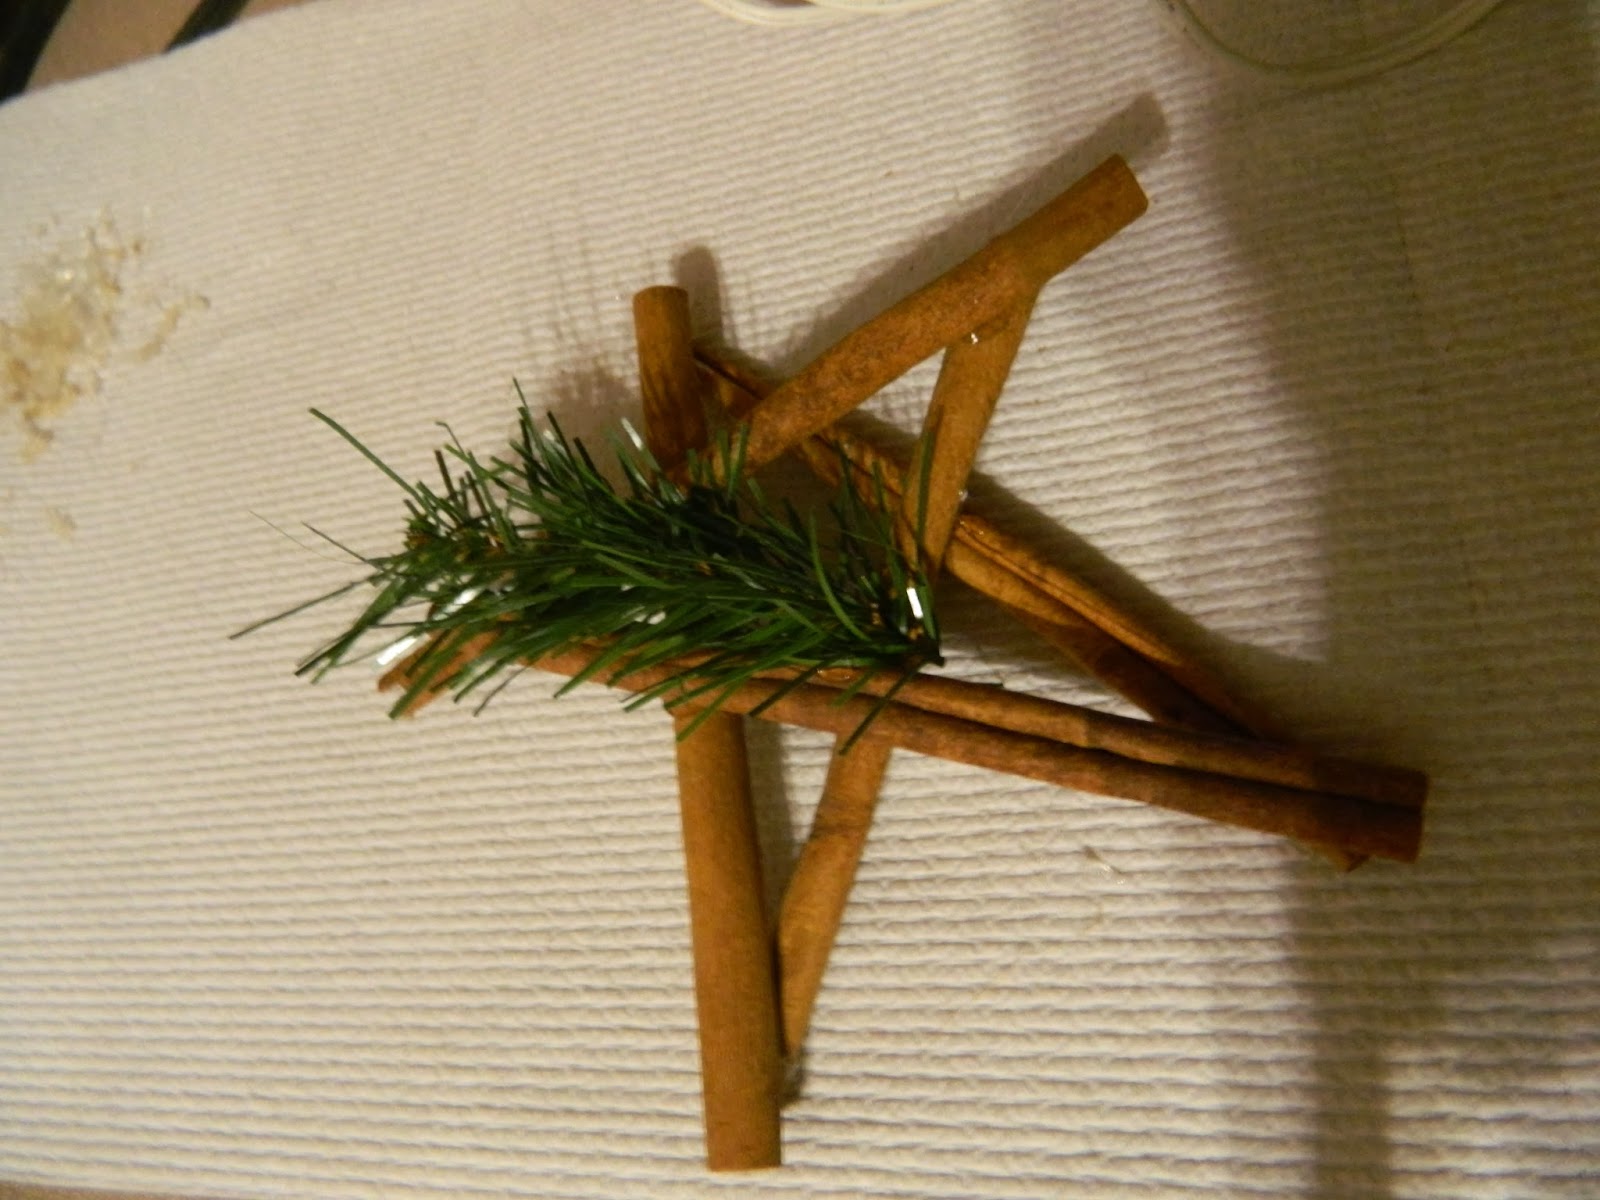
Armed with my glue gun, I tried a few different formations to get the stars to look right, and have all the sticks connect together.  Sometimes the bend or shape of the stick will determine how you place it in the star. This way seemed to work out the best:


Start with an upside-down V.  The third stick is connected under one of the arms of the V.


The fourth stick connects on top (or next to) the other arm of the V and the fifth stick connects the two lower arms, one side on top and the other under. (Remember, it depends on the bend and shape of the sticks, so each star will be a bit different).


Next, I snipped a piece of greenery off the wreath, and glued that along the left side.


Finally, I glued one of the bunches of berries into the greenery (but also made sure that it was connected to a stick below)


All we need now is a ribbon to hang it with and it's all set.  The stars came out so cute, but I don't have enough!  I need more cinnamon sticks and berries!


Too bad there isn't a 24-hour craft store around here, I'd go get some right now!

What Christmas crafts are you working on?