Five years ago, I had six friends who were pregnant. One was a two-for-one-deal with twin girls. I made the tops for two baby girl quilts that were really quite cute. But like so many other projects, I never got around to quilting them. The unfinished quilts were at the top of my pile when I moved everything and got a good sense of what was still languishing in the Oasis.
But it didn't feel right to give the girls baby quilts when they certainly aren't babies anymore.
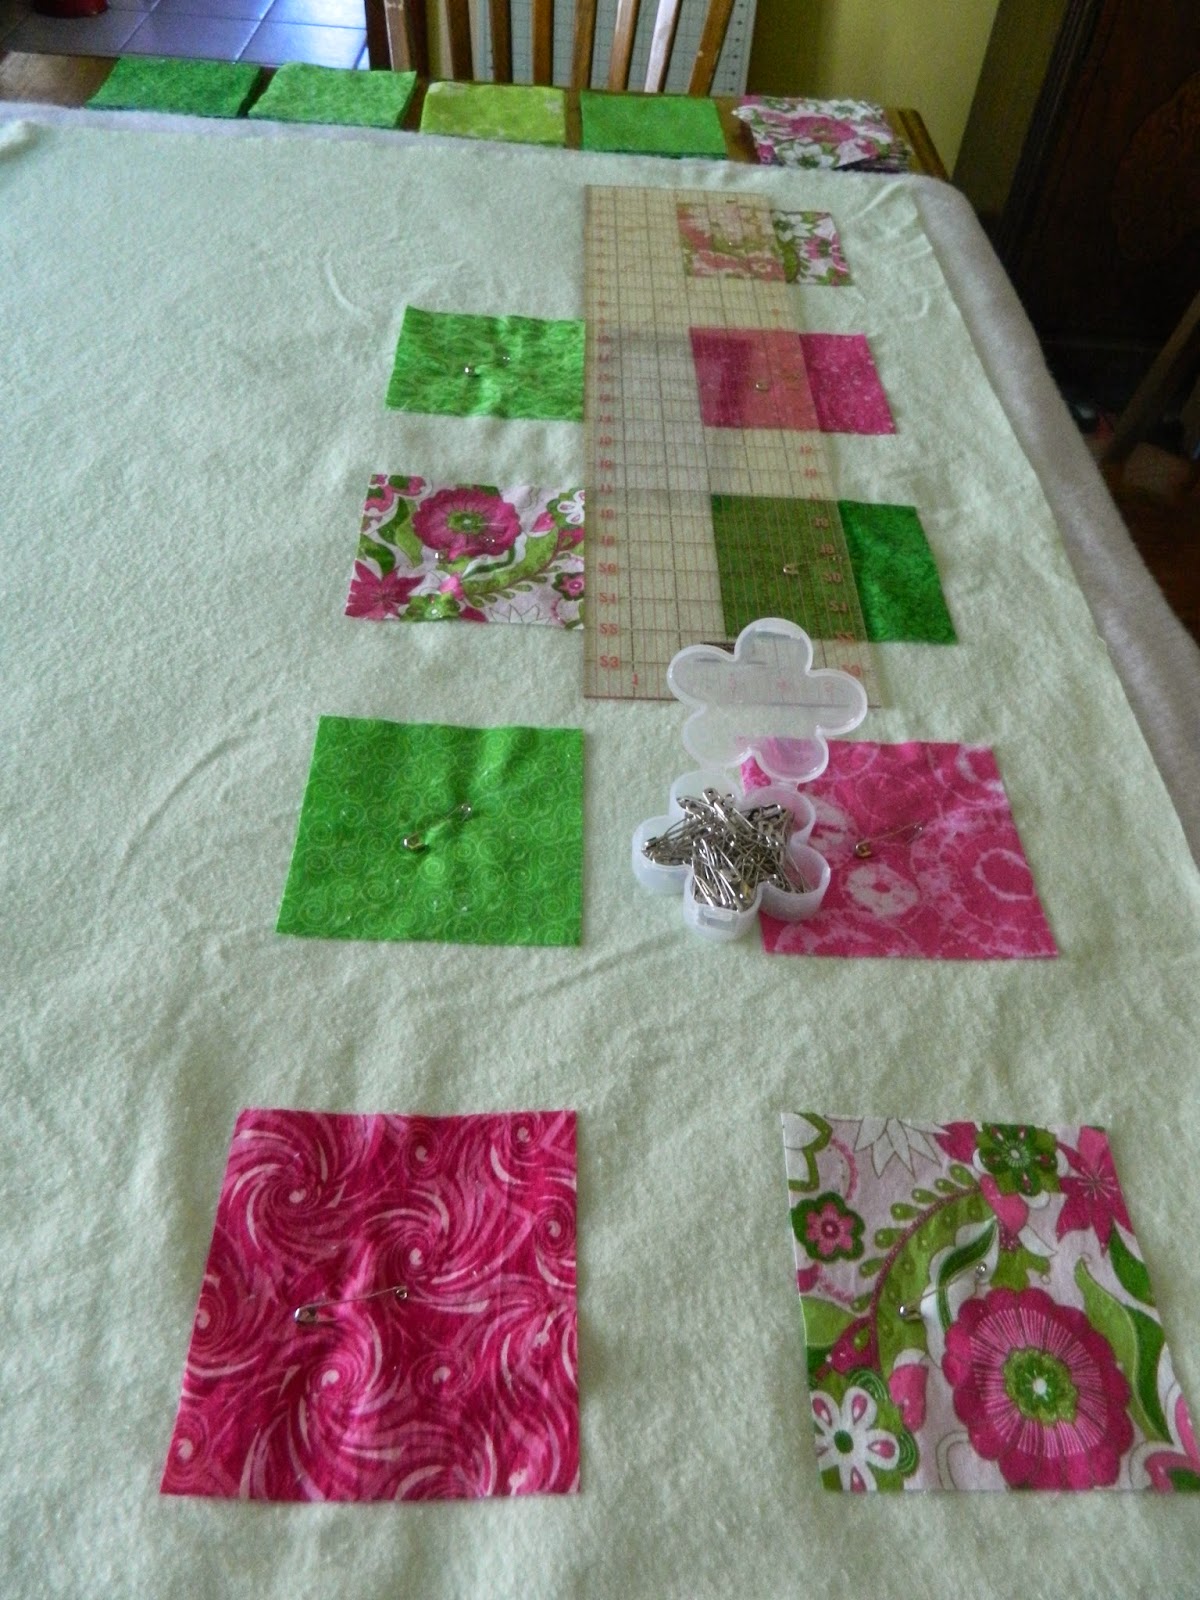
 When I saw the video that inspired the Lime Green and Hot Pink quilt from the last post, I thought that it would be the perfect way to make the twins "big girl quilts", and then when I saw an adorable lady bug pattern that came in yellow and green, all the pieces fell into place.
I chose a several yellows and greens to go with their respective lady bug print, and then reds that would go on both quilts. I particularly liked the red with black polka dots.
Using the method of sewing over the squares, the two quilts came together nicely, and quickly. After a lovely lunch out with my friend, she reported that the girls love them.
Knowing that the twins had their blankets, I didn't want their original baby quilts to go to waste. I have a colleague who welcomed a baby girl to his family in January so I was delighted that I could finish off one of the quilts and present it to her dad. There is a mix of baby patterns with pale pink checks and polka dots. This was the first quilt I ever used the satiny binding from the store rather than a fabric from the quilt and I was so glad that I had. I felt like it added a touch of sweetness to the quilt. And, that's another project crossed off the UFO list!

When I saw the Fourth of July ribbons on sale at the local craft store, I grabbed a few and raided the ribbon buckets in the Oasis for more red, white, and blue. The result was two more ribbon wreathes. I gave one to my sister-in-law and kept one for me.
 Finally, I made a quick gift for some friends. Every month, I get together with a group of women and we play BUNCO. We eat, drink, chat, and win prizes from each other. They were bridesmaids when I married Phil. It just so happens that three of them turned 49 this year. The occasion definitely needed to be celebrated, so I made them "Forever 49" wine glasses. All it took was three wine glasses and some glass/ceramic paint pens. I am not much of an artist, so I just drew some swirls and shapes, and of course, some dice.
Being a crafter brings me a great deal of joy. Knowing that I am creating something for a friend or family member makes it even more special.
Happy crafting!
Knowing that the twins had their blankets, I didn't want their original baby quilts to go to waste. I have a colleague who welcomed a baby girl to his family in January so I was delighted that I could finish off one of the quilts and present it to her dad. There is a mix of baby patterns with pale pink checks and polka dots. This was the first quilt I ever used the satiny binding from the store rather than a fabric from the quilt and I was so glad that I had. I felt like it added a touch of sweetness to the quilt. And, that's another project crossed off the UFO list!
When I saw the Fourth of July ribbons on sale at the local craft store, I grabbed a few and raided the ribbon buckets in the Oasis for more red, white, and blue. The result was two more ribbon wreathes. I gave one to my sister-in-law and kept one for me.
 |
| This is the one I gave my sister-in-law |
Finally, I made a quick gift for some friends. Every month, I get together with a group of women and we play BUNCO. We eat, drink, chat, and win prizes from each other. They were bridesmaids when I married Phil. It just so happens that three of them turned 49 this year. The occasion definitely needed to be celebrated, so I made them "Forever 49" wine glasses. All it took was three wine glasses and some glass/ceramic paint pens. I am not much of an artist, so I just drew some swirls and shapes, and of course, some dice. Being a crafter brings me a great deal of joy. Knowing that I am creating something for a friend or family member makes it even more special.
Happy crafting!