In the past, this is exactly how I would get myself into trouble. I would decide to make something for a friend or family member for a birthday or Christmas, new baby arrival, or some other momentous occasion. I would tell myself, "I can get it done by then!" and the project became one of those items on the UFO list.
But not this time!
Her graduation party was this past weekend and she was so excited when I gave her the (finished) quilt. I was pretty excited too.
How did I do it in two weeks?!
First, I had a simple yet adorable quilt pattern. A good friend post this video from DIYDish on Pinterest a few months ago. I thought it was awesome and used the idea to make matching quilts for twin girls. (You'll see those quilts in my next post). It's a "quilt as you go" pattern, so that cuts down on a lot of time right there.
For this quilt, I wanted something that suited Monica who is gorgeous, bright and sweet. When I saw this fabric in the store, I knew I had the focal fabric.

I love the combination of hot pink and lime green and the little bit of sparkle that runs through the pattern.
 I chose a light green flannel for the backing and then used a variety of hot pinks and greens that I found in charm packs and fat eighths.

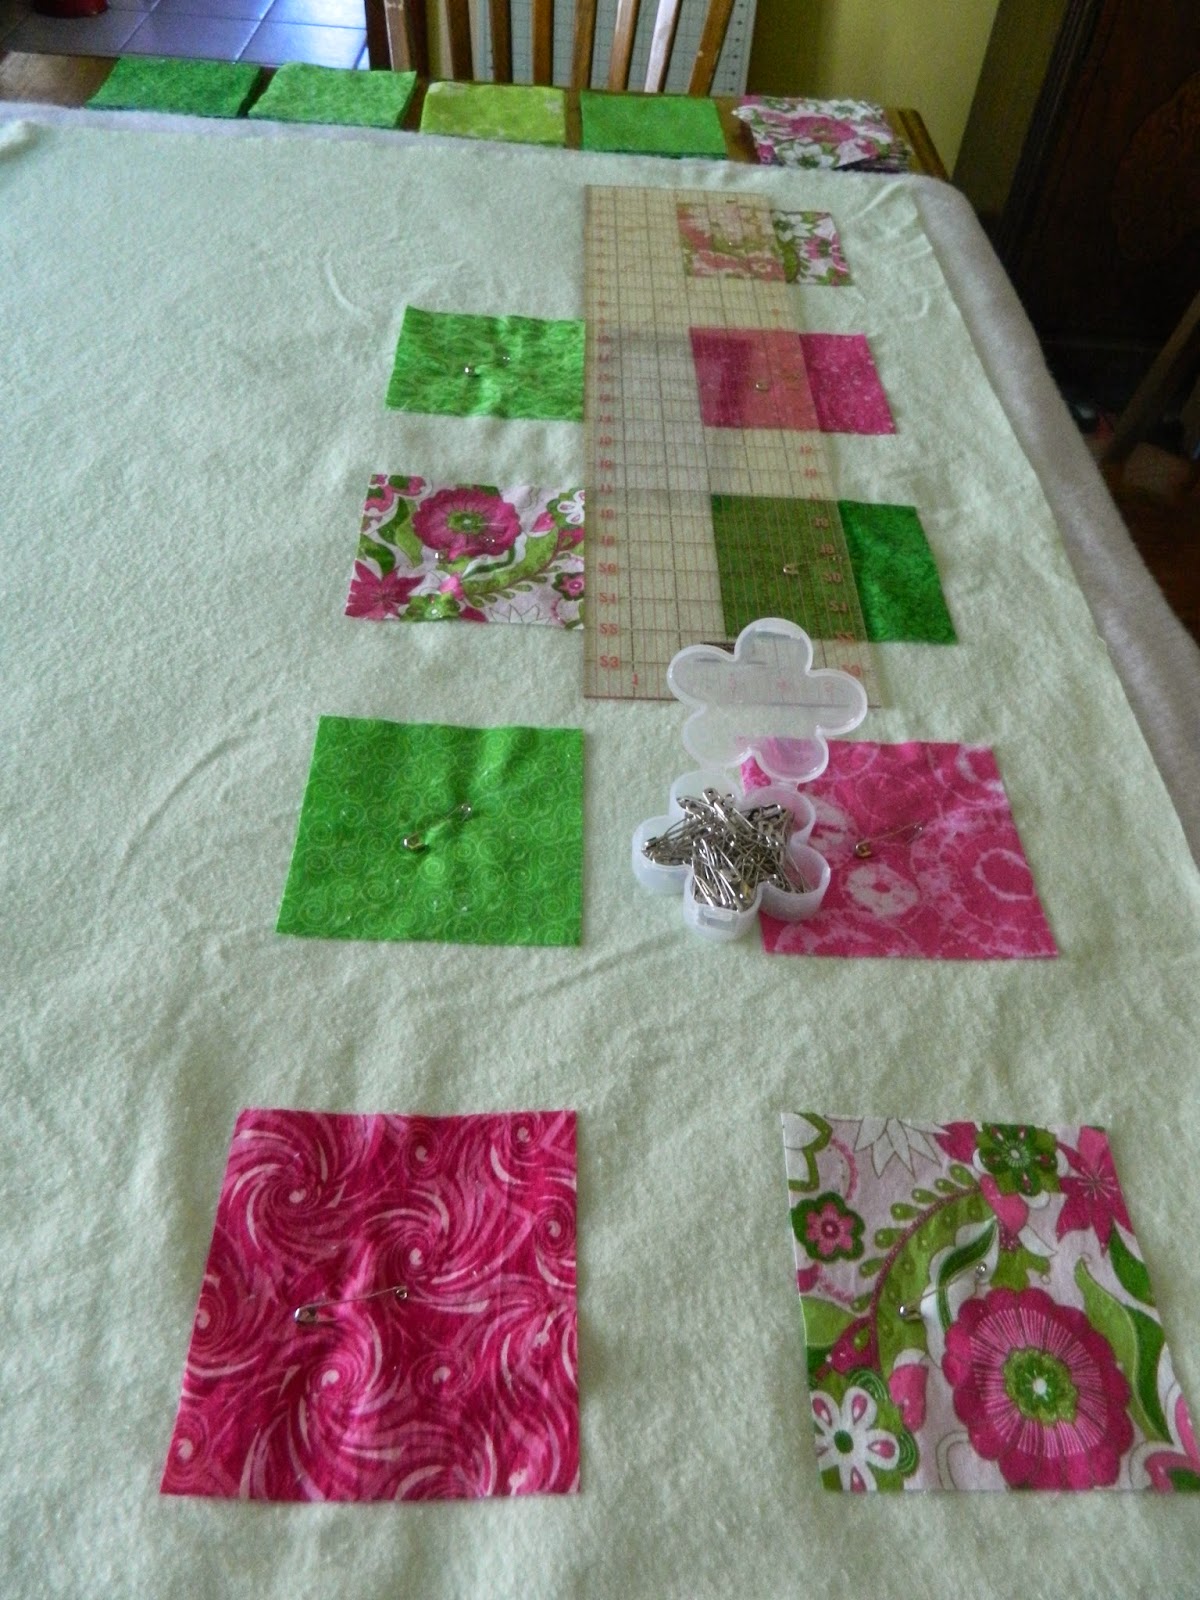
 Here's the whole thing laid out and pinned together. One thing I learned from making this quilt (and this was the third time I did it) is that you want to pin in between the squares to help baste it and keep the flannel from shifting.

I love the combination of hot pink and lime green and the little bit of sparkle that runs through the pattern.
After washing all the fabric, the next step was cutting 5x5 inch squares. (As the women in the video say, the great thing about this quilt is that you can chose whatever size suits your desired outcome.) I had purchased four yards of the green flannel. I basically just cut it in half so that the blanket would be about 2 yards long.
Layering the two pieces of flannel with the batting in between can be a little tricky. Even though the flannel came from one piece, it stretches and moves. I think the next time I make this kind of quilt, I'll trim the top piece a little so that it will be easier to have the three layers line up.
After getting the three layers all set, it's time to lay out the squares. I used my ruler to help. It's really up to you as to how far apart you place the squares, and then you'll probably have to adjust to get the amount of rows you want to fit. These were set about 2 and a half inches apart.
Here's the whole thing laid out and pinned together. One thing I learned from making this quilt (and this was the third time I did it) is that you want to pin in between the squares to help baste it and keep the flannel from shifting.
Next, use a marking pen to mark straight lines from one end of the fabric to the other, a quarter of inch (or a half if you'd rather) across the squares, so that when you sew them down, it leaves a edge that will fray.
I discovered that it was easier to sew down the right sides of the squares with the majority of the square to the left of the pressure foot because that helped hold it in place. Sometimes, the square would get stretched "out of square"
 And that's all there is to it. Start from the middle and work your way to the edges and you'll be finished in no time! I bound the quilt using the focus fabric and threw it in the washing machine. The more you wash it, the more the edges fray.
It was lovely to be able to give a finished quilt to someone! Two questions follow - what should I do with the leftover fabric I bought for this one, and what fabric could I use to make the next one? Goodness knows that there's enough scraps down in the oasis to make about six like this. I hope you'll try one like this too!
Happy sewing!
I discovered that it was easier to sew down the right sides of the squares with the majority of the square to the left of the pressure foot because that helped hold it in place. Sometimes, the square would get stretched "out of square"
And that's all there is to it. Start from the middle and work your way to the edges and you'll be finished in no time! I bound the quilt using the focus fabric and threw it in the washing machine. The more you wash it, the more the edges fray. It was lovely to be able to give a finished quilt to someone! Two questions follow - what should I do with the leftover fabric I bought for this one, and what fabric could I use to make the next one? Goodness knows that there's enough scraps down in the oasis to make about six like this. I hope you'll try one like this too!
Happy sewing!
No comments:
Post a Comment